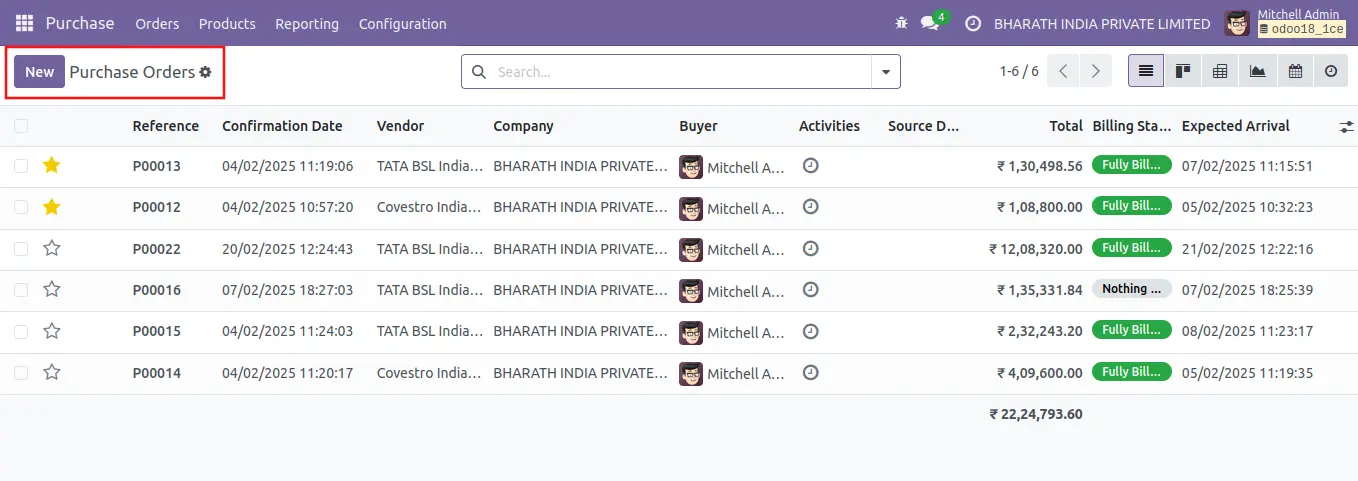
Once the request for quotation has been created, you can send it to the appropriate vendor for their approval. The confirmation of the purchase order comes after giving the vendor the RFQ. For the handling of Purchase Orders, Odoo18 provides a separate platform under the Orders menu of the Purchase module.

This window resembles the management window for requests for quotes. The Reference, Confirmation Date, Vendor, Company, Buyer, Activities, Source Document, Total, Billing Status, and Expected Arrival Date will all be sent to you. You can make a new purchase order using the New button's assistance.
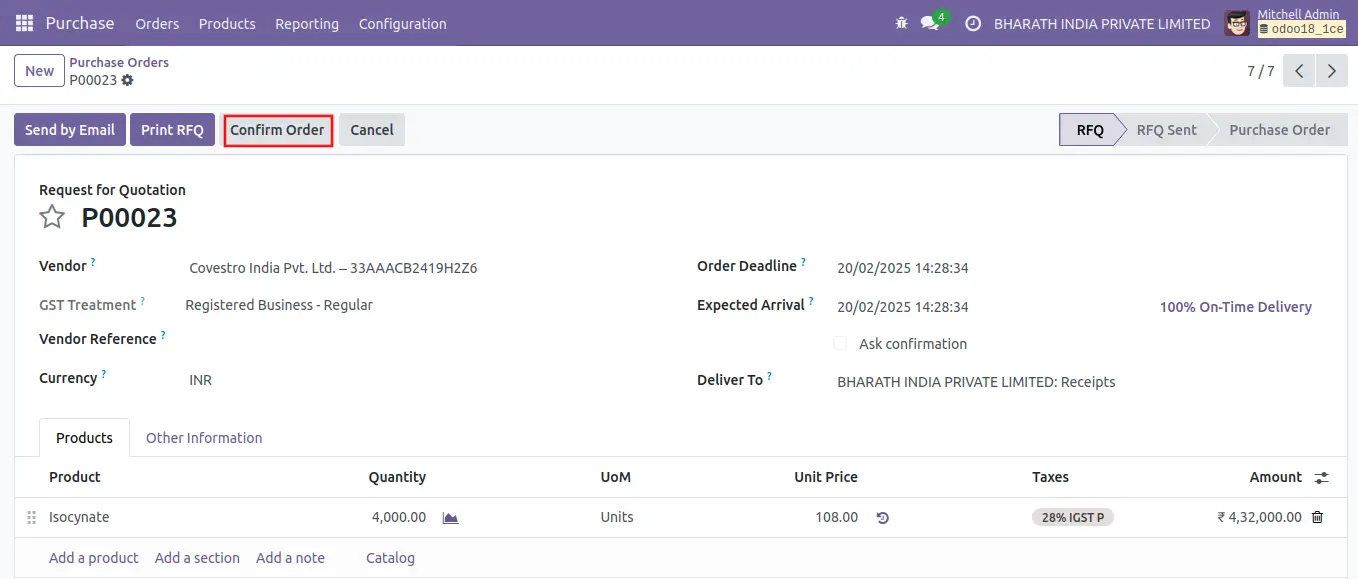
Using the Confirm button, the request for quotation (RFQ) can be changed into a purchase order if all parties are content with the terms and conditions stated therein.
Once you click the Confirm button, the RFQ will show as a Purchase Order in your browser.
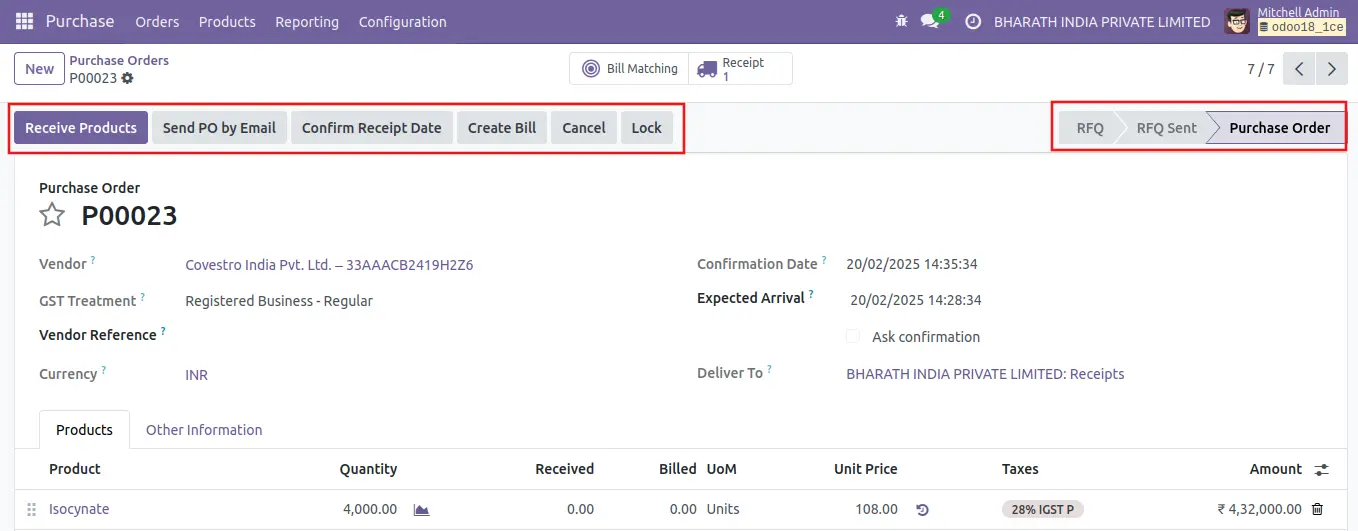
You may manage received products using choices like Receive Products,
Confirm Receipt Date, and Verify Receipt Date in the Purchase Order
box. To create a vendor bill, select Create Bill; to cancel a
purchase order, select Cancel.
Receive Products
Following order confirmation, the merchant will ship goods to the address you specified in the purchase order. Odoo18 will help you with the product delivery methods as well. You can click the Receive Products button to start receiving the products as soon as the seller sends them to your business.
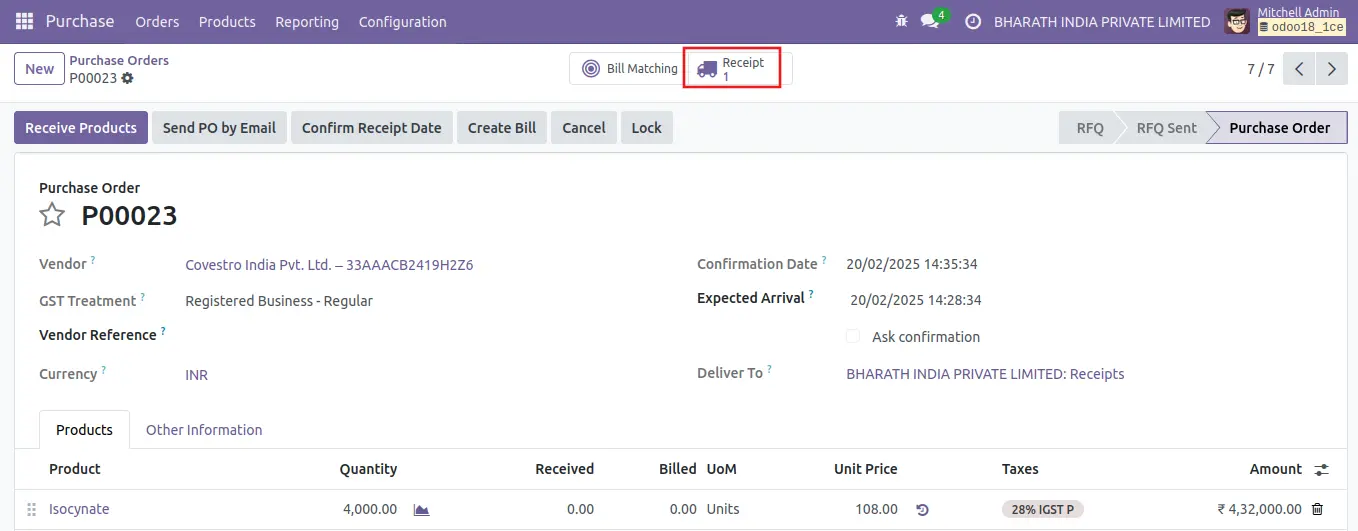
You will then be taken to a new window that has information on the arriving shipments. Utilising the smart button Receipt found on the relevant purchase order window, you may visit this window.
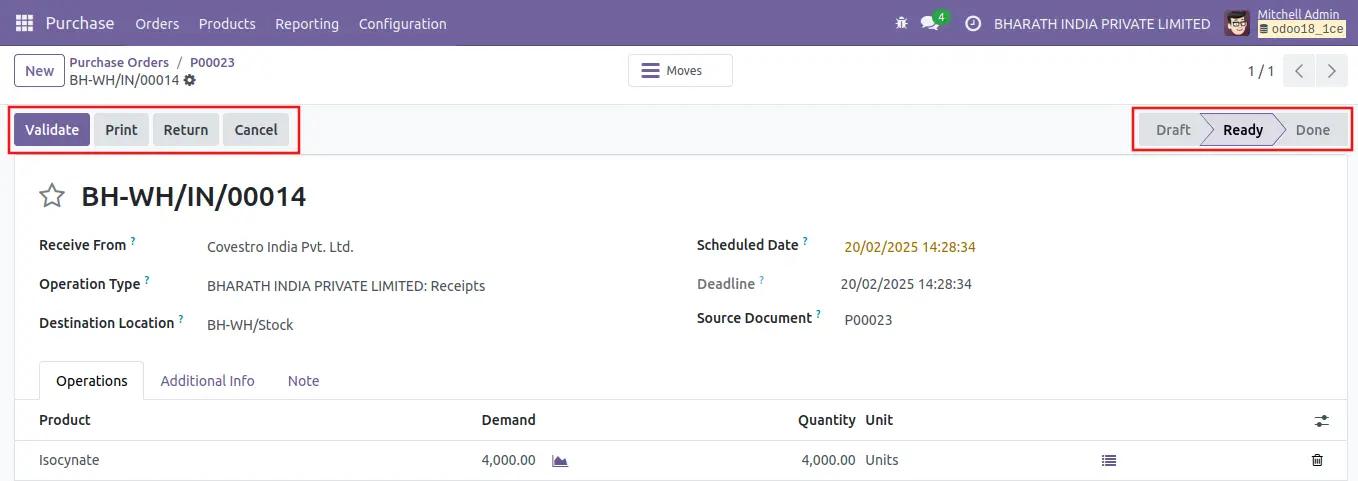
After reviewing the details, click the Validate button to verify the delivery receipt. The name of the product's supplier will be displayed in the Receive From box. The delivery address you specified when you created the purchase order will appear as the destination location. You will find the Scheduled Date, Deadline, and Source Document of the delivery receipt in the corresponding fields.
Under the Operations tab, specifics like Product, Demand, Done, and Unit of Measure can be seen.The number of the products as they appear in the inventory will be displayed in the demand field. You will see a button to view the product's forecast report close to this field. A similar button will appear close to the Unit of Measure field and display the detailed operations view.
You may find shipping details and other information pertaining to the product's delivery under the Additional Information page.You may find shipping details and other information pertaining to the product's delivery under the Additional Information page.You can validate the receipt by selecting the Validate option after you have reviewed all the details.
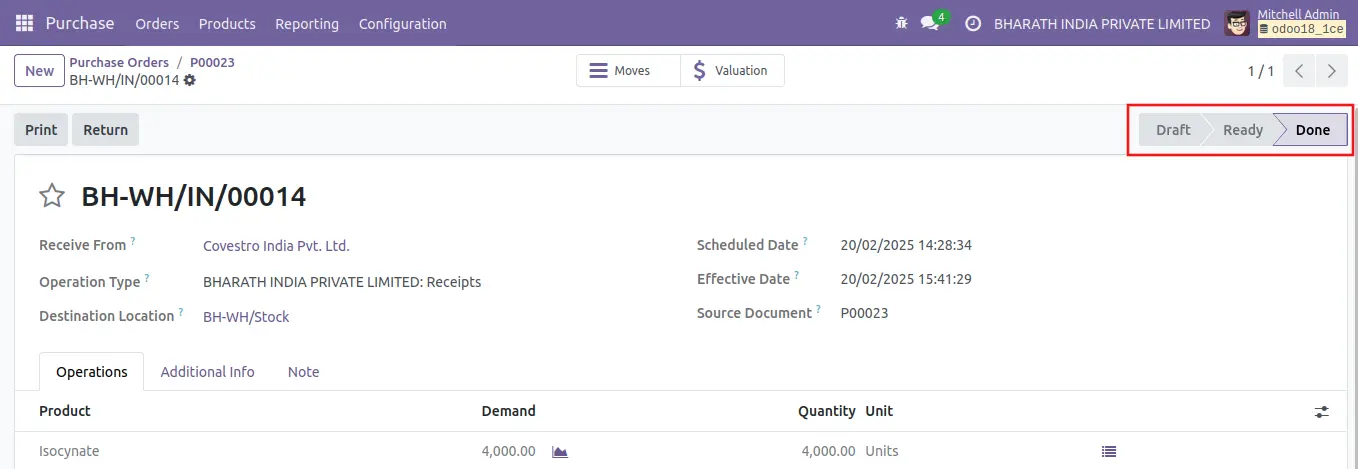
The receipt's status has changed to Done, indicating that the transfer has been completed.