A commercial organisation handles many kinds of retail or wholesale purchasing. Keeping track of and managing the information from various vendors may be necessary, depending on the goods you have bought. You can set up all the vendors associated with a specific product in Odoo18, which facilitates clients' ability to purchase from the vendor of their choosing. The versatile and sophisticated user interface of Odoo18 has made it easier to monitor the vendor directory and compile vendor attributes. Moreover, you may simply follow new purchase orders by connecting the vendor data to the relevant product.
Click the Vendors menu from the Orders tab's drop down list to manage the vendor details. All of the vendors who have been added to the module will be shown in detail on the Kanban view.

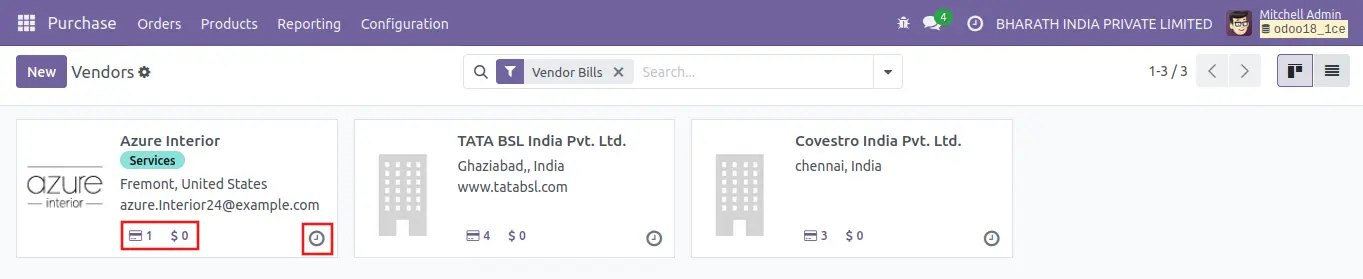
The Kanban view provides access to a vendor's basic information. Name, tags, email address, and communication address are among the details. Icons for managing meetings, opportunities, and purchases allocated to the appropriate vendor will be provided to you.
You can plan an activity with the specific seller by clicking on the tiny clock icon.
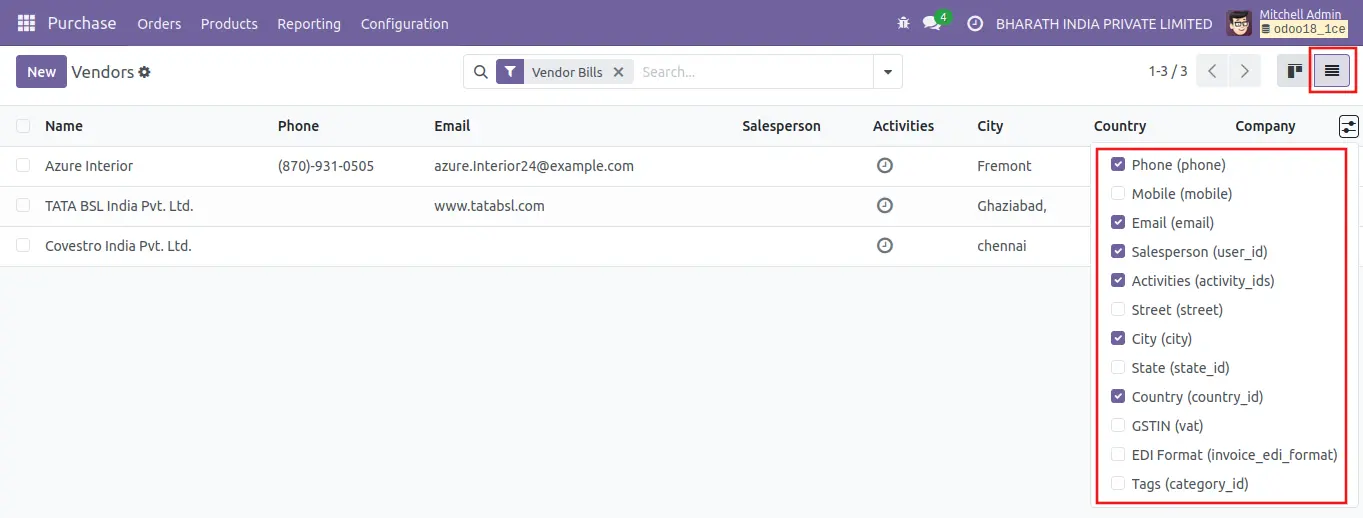
This platform's list view displays the vendor's Name, Phone, Email, Salesperson, Activities, City, Country, and Company. By adding more fields from the list displayed in the above example, you can enlarge the list view preview.
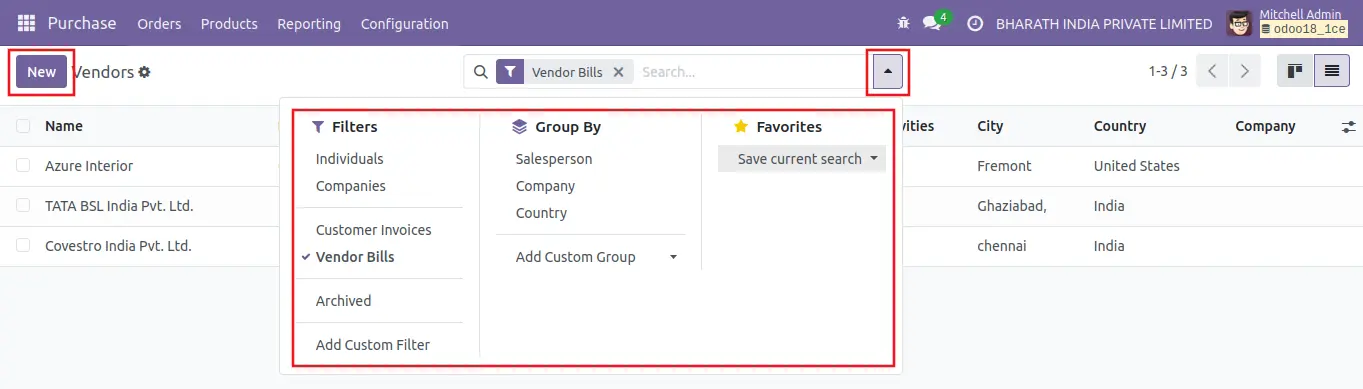
The accessible list of suppliers can be sorted according to your needs using the default and custom features of the Filters, Group By, and Favorites options. Use the New button to add a new vendor's configuration to your database.
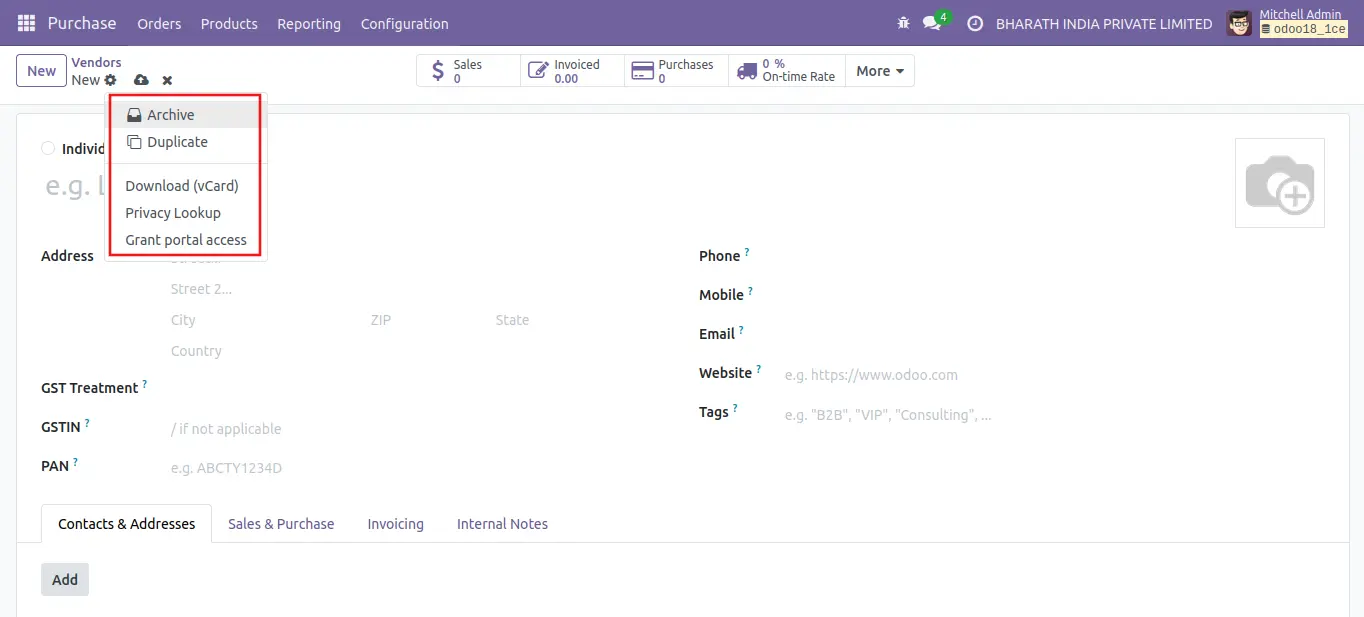
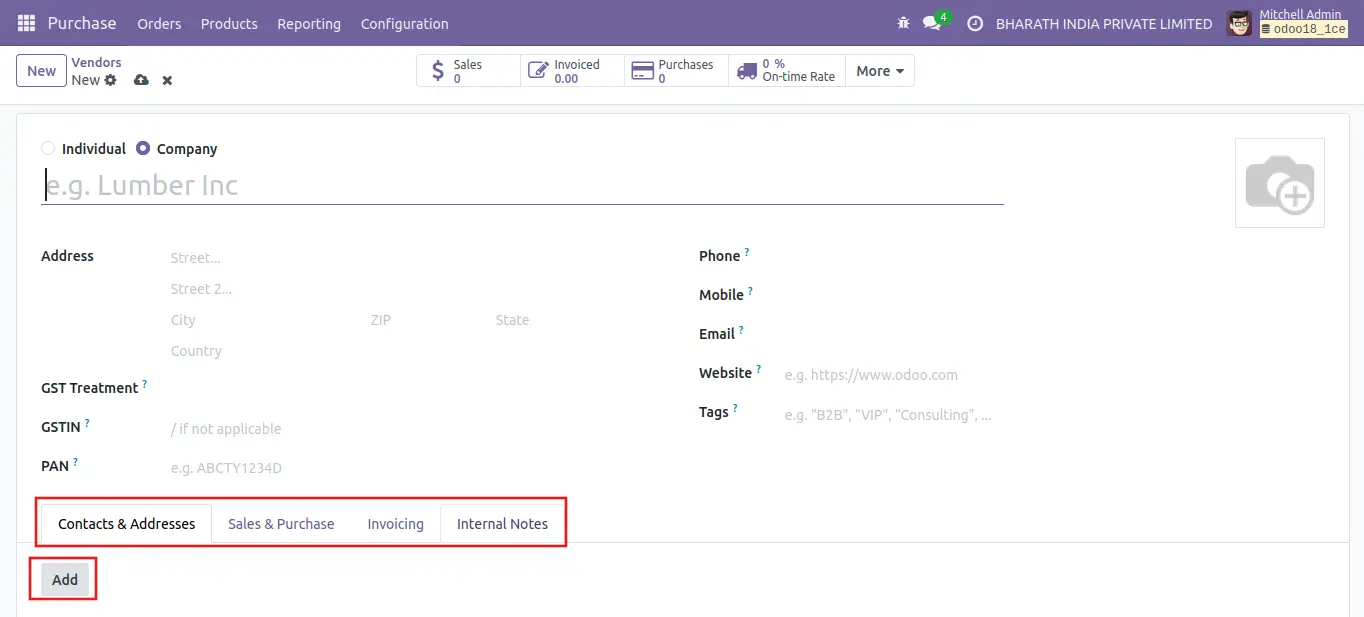
With the help of the New button, you may now configure a new vendor. You can set up a new vendor profile with the name of a vendor. The vendor's name may be mentioned in the designated area. After that, you can set up the vendor's necessary information, including address, GSTIN, PAN, phone, mobile, email, website, and tags.
You can add the vendor's contact information by clicking the Add button under the Contacts & Addresses tab.
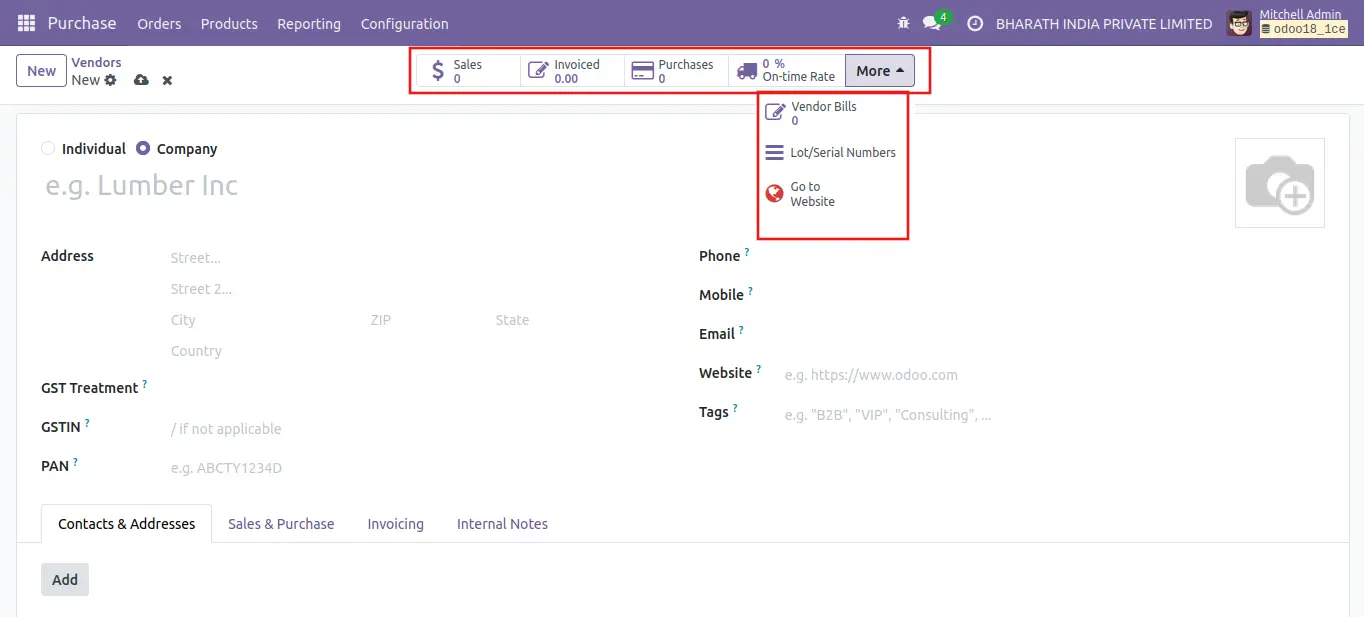
All sales with this vendor will be listed under the Sales button. The relevant smart buttons can be used to view the total number of sales, Invoiced, Purchases, and On-time Rate. Additional smart buttons, such as Vendor Bills, Lot/Serial Numbers, Go to Website, are displayed when you select the More option.
Under the Action button, you can find a selection of unique operation tools. You can use this button to access the following features: Archive, Duplicate, Download (vCard), Privacy Lookup, and Archive.